


- Step 1: Choose the Right Kit for UK Wiring
- Key Specs to Check Before Buying
- Step 2: Prepare Your Router Connection
- Step 3: Set Up the Receiver Near Your Smart TV
- Step 4: Pair and Encrypt the Adapters
- The Standard Pairing Sequence
- Step 5: Reconfigure Smart TV Network Settings
- Step 6: Verify Speed and Latency Performance
- Troubleshooting UK Home Interference Hazards
- 1. The RCD Consumer Unit Split
- 2. Phone Chargers and Cheap Power Supplies
- 3. Surge Protectors
- When to Consider Other Wiring Options
A weak Wi-Fi signal in the living room is a daily nightmare for UK TV viewers. You sit down to watch a 4K drama on BBC iPlayer or a high-definition match on Sky, only for the dreaded buffering wheel to lock your screen. Wireless signals hate thick brick internal walls, Victorian plasterboard, and foil-lined floor insulation. Running fifty metres of blue network cable along your skirting boards isn’t an option if you want to keep your hallway tidy.
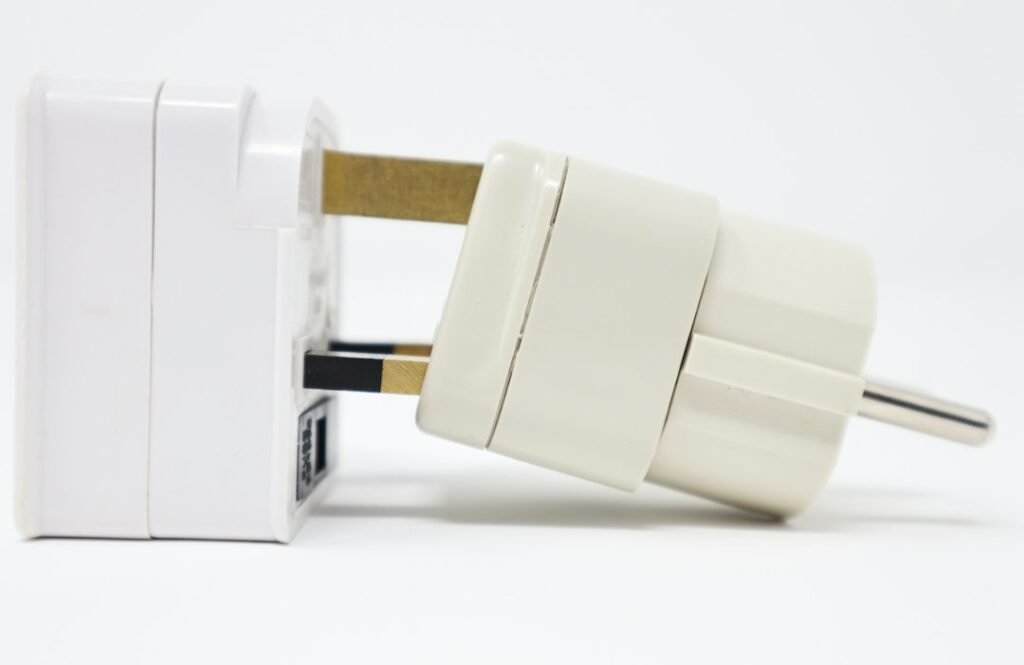
Plugging your television directly into your broadband router using powerline adapters for smart tv setups gives you the rock-solid stability of a wired network connection without drilling through exterior brickwork. These small plugs use the copper wiring already running inside your house to send internet data from your router straight into your TV socket.
This practical guide walks you through setting up a home network network link using powerline hardware. You’ll learn how to choose the right gear, bypass common electrical noise traps in UK homes, and configure your television for glitch-free 4K video playback.
Step 1: Choose the Right Kit for UK Wiring
Not all homeplug adapters perform equally well on British electrical circuits. UK homes generally use a ring main layout where sockets share a single circuit breaker loop back to the main consumer unit. While this delivers plenty of power, older wiring or split consumer units can reduce data transfer speeds.
Look for adapters built on the HomePlug AV2 or G.hn standards. Older HomePlug AV500 units claim speeds up to 500Mbps on paper, but real-world testing in standard three-bedroom semi-detached houses yields closer to 30Mbps to 50Mbps. That is barely enough for uncompressed 4K streaming alongside background phone updates.
Modern AV2-1000 or AV2-2000 hardware handles electrical noise far better. They use MIMO (Multiple Input Multiple Output) technology, sending signals across the earth wire alongside the live and neutral lines. This delivers reliable throughput across different breaker circuits.
Key Specs to Check Before Buying
- Pass-through sockets: Choose models with an integrated UK 3-pin outlet on the front. Plugging an adapter into an extension lead kills performance by 70%. A pass-through plug lets you plug your television power lead directly into the front of the adapter.
- Gigabit Ethernet ports: Ensure the network socket on the bottom is rated for 1000Mbps (Gigabit). Cheaper units pair a 1000Mbps electrical connection with a slow 100Mbps Ethernet port, capping your maximum bandwidth artificially.
- Multi-port options: If you have a Smart TV, a Sky Stream puck, and an Xbox under your cabinet, pick a receiver adapter with two or three built-in network ports.
Step 2: Prepare Your Router Connection
Start your installation right next to your broadband hub. Whether you use a BT Smart Hub 2, Virgin Media Hub 5, Sky Max Hub, or an EE Smart Router, the first adapter must plug straight into an ethernet port on the back of your provider’s router.
Plug the primary powerline unit into an unused wall socket right beside your router. Avoid using double-socket gang boxes that host high-drain appliances like fridge-freezers or microwave ovens. Electrical motors generate noise that degrades data packets.
Take a Cat6 ethernet cable—usually included inside the box—and connect one end into LAN 1 on your router. Connect the other end into the socket on the base of your primary adapter. Turn on the power switch at the wall. The power LED on the unit should light up solid green or white.
Understanding how data flows through your domestic infrastructure highlights why broadband connection needs dedicated physical pathways inside the property. Wi-Fi carries too much variable latency for heavy high-bitrate video feeds.
Step 3: Set Up the Receiver Near Your Smart TV
Move to your living room, bedroom, or garden room where your Smart TV resides. Locate the wall socket nearest to your entertainment stand. Once again, ensure you select a wall outlet directly on the wall rather than an extension block.
If your media space relies on a multi-way extension strip to power the TV, soundbar, and streaming box, do not panic. Simply unplug the extension block from the wall, insert your powerline adapter into the wall socket, and then plug the extension block straight into the pass-through socket on the front of the adapter.
Connect a second Cat6 network cable from the port on the adapter into the RJ45 port marked LAN or Network on the back of your Smart TV. If you use a dedicated streaming puck or set-top device alongside your display, connect the lead directly into that box instead.
Step 4: Pair and Encrypt the Adapters
Most modern adapter pairs come paired out of the factory. As soon as both units are powered on, the data indicator light (usually shaped like a small house or ethernet icon) should illuminate. If this light glows green or amber, your electrical lines are actively carrying network data between the rooms.
If the data light stays off, or if you want to prevent a neighbour in a flat or terraced house from tapping into your powerline connection, you must manually pair the devices to create a secure 128-bit AES encrypted network key.
The Standard Pairing Sequence
- Press the physical ‘Pair’ or ‘Join’ button on the adapter near your router for two seconds. The power light will start flashing slowly.
- Within 120 seconds, walk to your television room and press the ‘Pair’ button on the second adapter for two seconds.
- Watch the status LEDs. Both units will flash rapidly while negotiating a secure encryption key. Within 30 seconds, both data lights will show a steady solid light.
If pairing fails, reset both plugs to factory settings. Hold the pair button on each plug for 10 to 15 seconds until all indicator LEDs blink simultaneously, then repeat the two-step process.
Step 5: Reconfigure Smart TV Network Settings
Smart TVs do not always switch automatically from wireless connections to wired connections. You need to adjust the internal operating system settings on your LG webOS, Samsung Tizen, Sony Google TV, or Hisense VIDAA set.
Grab your television remote and navigate to the main settings menu. Select ‘Network’ or ‘Connections’, then look for ‘Network Status’ or ‘Connection Settings’. Change your primary connection type from Wi-Fi to ‘Wired Network (Ethernet)’.
In almost every home setup, leave the IP configuration set to ‘Auto’ or ‘DHCP’. Your internet router will assign an IP address to the television automatically within five seconds. You should see a green tick or confirmation message on screen indicating that the TV is connected to the internet.
Step 6: Verify Speed and Latency Performance
Never assume the job is done just because the TV screen says ‘Connected’. You must test the real-world bandwidth reaching your set to ensure smooth, buffer-free playback.
Open the web browser built into your Smart TV, or download a free network speed test application from your TV’s app store. Run a quick speed test. You can also open the Netflix app, navigate to ‘Get Help’ in the side menu, and run the built-in network verification test.
Compare your results against these baseline requirements for popular UK services:
- BBC iPlayer 4K UHD: Requires a continuous throughput of at least 24Mbps. High dynamic range streams drop back to 1080p if bandwidth fluctuates below 12Mbps.
- ITVX & Channel 4 HD: Require around 5Mbps to 10Mbps for reliable 1080p video delivery.
- Sky Stream & Premium Apps: Recommend minimum constant speeds of 25Mbps to 30Mbps per stream for 4K HDR live broadcasts.
Beyond raw bandwidth, check your ping (latency). Wi-Fi networks often jump between 15ms and 150ms depending on home interference. A stable powerline link should hold steady under 10ms, preventing live stream audio desynchronisation and reducing buffering pauses when skipping forward in video streams.
Troubleshooting UK Home Interference Hazards
If your speed test reports low numbers or video feeds drop back to standard definition, environmental noise on your house wiring is usually the culprit. UK homes present a few unique hurdles that are easy to fix once identified.
1. The RCD Consumer Unit Split
Modern UK consumer units (fuse boxes) use dual RCDs (Residual Current Devices) to split electrical sockets into separate circuits—typically one for the ground floor and another for the upstairs bedrooms. Sending data across two separate RCD switches degrades speeds slightly.
If you are trying to feed a TV upstairs from a ground-floor router, ensure you buy AV2-2000 standard hardware. These handle phase-crossing far better than older entry-level adapters.
2. Phone Chargers and Cheap Power Supplies
Cheap USB phone chargers, LED transformer drivers, and knock-off laptop power bricks bleed high-frequency electrical noise back into wall sockets. If your streaming quality dips at night, unplug unbranded phone chargers connected to the same wall socket bank as your powerline units.
3. Surge Protectors
Never plug a powerline adapter into a surge-protected extension strip. Surge protection circuits treat powerline data signals as electrical noise and actively absorb them. This kills your connection entirely or reduces your speed to an unusable trickle.
When to Consider Other Wiring Options
While using powerline adapters for smart tv connections works brilliantly for 90% of UK properties, extreme cases require alternative approaches. If you live in an ancient cottage with thick stone walls and damp-proof electrical isolated sub-panels, or an apartment block with shared wiring rings, powerline performance might drop below 15Mbps.
In those specific scenarios, consider flat adhesive Cat6 cables tucked neatly beneath carpets or clipped along door architraves. Alternatively, installing a modern Wi-Fi 6 mesh system with dedicated backhaul wireless bands can bridge long distances across tricky properties.
For most standard UK semi-detached and terraced homes, however, moving your Smart TV onto an electrical network bridge is the fastest, cleanest, and most reliable way to banish buffering for good. You get the speed of a hardwired connection without calling out an electrician or tearing up your carpet grippers.
For more information, IPTV UK.
Related reading
- How to Stream Live Premier League Football on Smart TVs in the UK
- Why Does Smart TV Streaming Stutter? Common Myths and Real Broadband Fixes