


- Step 1: Separate Your Wi-Fi Frequency Bands
- Step 2: Relocate Your Router Away from Obstacles
- Step 3: Replace Wireless Connections with Physical Cables
- Using Powerline Adapters When Cables Are Not an Option
- Step 4: Configure Quality of Service (QoS) Rules
- Step 5: Change Your Default ISP Domain Name System (DNS)
- Step 6: Address ISP Throttling and Privacy Concerns
- Step 7: Clear App Caches and Reset Network Leases
Saturday afternoon football is mid-attack, and suddenly your screen freezes into a swirling loading icon. It is the single most frustrating glitch in modern entertainment. While most people immediately blame their broadband provider or the broadcast app, the bottleneck almost always lies inside the house. Fine-tuning your home network for streaming can eliminate those sudden drops in picture quality and keep live feeds running smoothly.
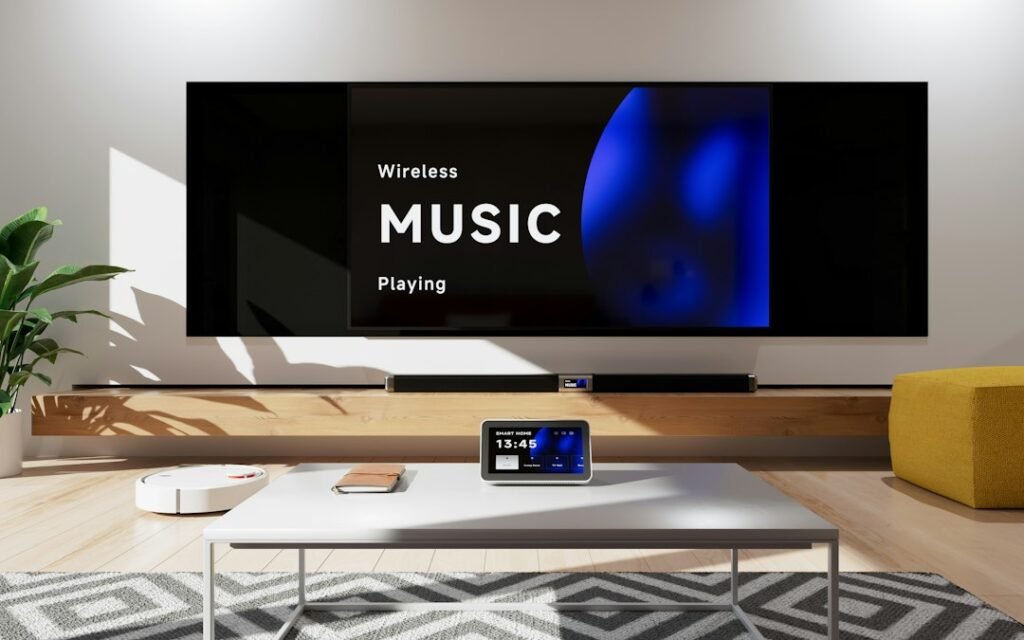
British houses present unique challenges for wireless signals. Dense brick walls, Victorian plaster, and crowded suburban airwaves constantly disrupt connections. Standard broadband routers supplied by UK providers like BT, Sky, and Virgin Media often struggle to punch through these obstacles without a little manual intervention. This step-by-step guide walks you through exact adjustments to configure your setup for solid, uninterrupted viewing.
Step 1: Separate Your Wi-Fi Frequency Bands
Most default UK ISP routers use a single Wi-Fi name for both the 2.4GHz and 5GHz frequency bands. The router relies on a feature called smart steering to move devices between these frequencies automatically. In practice, this system frequently fails. It pushes high-bandwidth smart TVs onto the congested 2.4GHz band simply because the signal reaches a fraction farther.
The 2.4GHz frequency is notoriously slow and overcrowded. Bluetooth gadgets, baby monitors, microwave ovens, and your neighbour’s router all fight for space on this narrow band. Conversely, the 5GHz frequency offers massive headroom and far faster data transfer rates, though its signal range is shorter.
To fix this, log into your router’s admin page using an internet browser. You can find the login IP address—usually 192.168.1.1 or 192.168.0.1—printed on the sticker at the back of the hub alongside the administrator password. Locate the wireless settings menu and disable combined SSID or band steering. Rename the 5GHz network so it ends with “_5G”.
Once saved, connect your television, streaming puck, or desktop computer strictly to the new 5GHz signal. Keep basic household devices like smart plugs, light bulbs, and printers on the 2.4GHz line. Clearing out that clutter gives your main display an open path to receive high-bitrate video streams.
Step 2: Relocate Your Router Away from Obstacles
Router placement dramatically impacts local signal performance. Many households hide their broadband hub inside a wooden TV cabinet, behind a sofa, or right next to a master telephone socket tucked into a hallway corner. Placing a transmitter near floor level or behind thick objects cuts Wi-Fi coverage across your living room significantly.
Radio waves travel outward and downward. Positioning your router at table height on an open surface instantly improves coverage throughout the room. Keep the device at least one metre away from other electronics. Cordless house phones, subwoofer speakers, and metal stands actively distort wireless signals.
If your main phone socket sits far from the living room television, avoid using long, flimsy extension cables. Standard telephone extension leads suffer from signal loss and pick up electrical noise from nearby mains plugs. If you must run a physical cable across a room, use an ethernet line rather than an extended telephone lead.
Step 3: Replace Wireless Connections with Physical Cables
Wi-Fi is convenient, but physical cables remain unbeatable for stability. Live broadcasts use high bitrates that cannot buffer minutes in advance like normal movies do. Every millisecond of delay or packet loss directly causes dropped frames or sudden resolution dips.
Plugging an Ethernet cable straight from your hub into your TV or streaming device guarantees zero wireless interference. Cat6 ethernet cables cost very little and deliver full network speed consistently. If you run a desktop setup for watching live broadcasts, review our detailed guide to IPTV players for Windows to pair direct wired performance with the right desktop software.
Using Powerline Adapters When Cables Are Not an Option
Running a yellow cable across hallway carpets or up stairs isn’t always practical. If your router sits in another room, powerline adapters offer a brilliant alternative. These small plugs use your home’s existing electrical wiring to transport network data between rooms.
- Plug one powerline unit into a wall socket near your router and connect it using a short network cable.
- Plug the second unit into a wall socket right behind your smart TV or set-top box.
- Connect a second ethernet cable from the wall unit straight into your viewing device.
- Press the pair button on both adapters to establish a secure link over your mains wiring.
Avoid plugging powerline adapters into trailing extension leads or surge protectors. Surge suppression filtering blocks the network frequencies, causing severe speed losses or total dropouts. Plug them directly into double wall sockets for maximum bandwidth.
Step 4: Configure Quality of Service (QoS) Rules
Network congestion inside the home often causes live streams to stall. When someone upstairs downloads a massive video game update while you watch a live broadcast, your router struggles to allocate bandwidth fairly. Enabling Quality of Service (QoS) solves this conflict.
QoS is an internal router setting that lets you prioritize specific types of internet traffic or specific hardware over everything else. While lower-end provider hubs lack advanced QoS, third-party routers from brands like TP-Link, Asus, and Netgear include robust traffic management menus.
Open your router interface and locate the QoS panel. Select your smart TV, media player, or setup box from the device list and mark its priority level as “High” or “Highest”. Alternatively, assign real-time media traffic priority over file downloads and cloud backups. With QoS enabled, your router automatically holds back background downloads whenever your media player demands full speed for high-definition playback.
Step 5: Change Your Default ISP Domain Name System (DNS)
When you click on a live stream, your device asks a Domain Name System (DNS) server to convert the web address into an IP address. By default, your streaming box uses your broadband provider’s default DNS server. UK internet providers occasionally experience high DNS congestion during busy evening hours, causing noticeable delays before feeds load.
Switching your network settings to use independent public DNS servers improves response times and speeds up initial connection handshakes. Two highly reliable public DNS providers are:
- Cloudflare DNS: Primary 1.1.1.1 | Secondary 1.0.0.1
- Google Public DNS: Primary 8.8.8.8 | Secondary 8.8.4.4
You can apply these DNS addresses directly within your TV’s network configuration menu, or set them globally inside your router settings. Changing this single setting frequently fixes sluggish app navigation and reduces loading spinners when flipping between channel feeds. If you use specialized hardware like high-end media pucks, read our walkthrough on setting up IPTV for Apple TV 4K to learn how to change network and DNS settings on tvOS devices.
Step 6: Address ISP Throttling and Privacy Concerns
During peak viewing hours—such as major Champions League or Premier League fixtures—some UK internet service providers apply automated traffic management routines. This practice, known as bandwidth throttling, limits specific protocol speeds to prevent wider network strain. If your broadband connection achieves 100Mbps on speed test sites but stutters continuously on live feeds, local ISP management might be kicking in.
Understanding network privacy and content transmission rules is crucial when setting up home equipment. You can check our complete guide on UK internet TV laws and regulations for detailed legal context on broadcasting standard protocols.
To stop your provider from inspecting your live connection packets and selectively throttling traffic, install a Virtual Private Network (VPN) at the device level or directly on your home router. Encrypting your network traffic hides the nature of your data streams from your provider’s automated management systems, preventing unfair slowdowns on your home line. If you stream using Amazon hardware, explore our recommendations for the best VPN setup for Firestick to secure your connection without sacrificing system performance.
Step 7: Clear App Caches and Reset Network Leases
Network hardware maintains dynamic routing tables that occasionally get bogged down with old IP allocations and cached data. Performing a quick system refresh clears temporary software glitches that cause unexpected buffering.
Unplug your broadband router and powerline units from the wall for 60 full seconds once every few weeks. This forces your broadband provider to assign a fresh connection lease and clears out saturated internal memory caches. Similarly, navigate into your Smart TV’s app manager settings periodically to clear the memory cache on your preferred streaming apps. Fresh data caches prevent sluggish menu navigation and keep video buffers filling smoothly.
Taking an hour to structure your home network for streaming makes a permanent difference to your viewing experience. By isolating fast Wi-Fi bands, adopting wired powerline connections, and updating DNS profiles, you build a resilient entertainment setup capable of delivering reliable HD and 4K broadcasts without interruption.
For more information, IPTV UK.
Related reading
- Sky Stream vs Virgin Stream: Which Streaming Puck Wins in 2026?
- 7 Things to Know Before Setting Up Freely TV in the UK