


- Step 1: Verify Your Smart TV Supports USB Recording
- Step 2: Choose and Format the Correct USB Drive
- Step 3: Connect and Register Storage to Record Live TV on Smart TV Sets
- Step 4: Set Up Live Pause and Schedule EPG Recordings
- Enabling Live Pause (Time-Shifting)
- Scheduling Future Shows via the EPG
- Step 5: Overcome Common Single-Tuner Restrictions and Errors
- The Single Tuner Problem
- Digital Rights Management (DRM) and Content Encryption
- Power Supplies and External Drive Sleep Modes
- Keep Your Broadcast Setup Running Smoothly
You sit down to watch a decisive Premier League match or the latest Sunday night BBC drama, only for duty to call. Catch-up apps like BBC iPlayer or ITVX are brilliant, but they do not always upload live broadcasts immediately. Sometimes rights restrictions block specific live sporting events from catch-up altogether. If you want guaranteed access to live broadcasts on your own schedule, learning how to record live TV on Smart TV setups using a basic USB storage drive is the most reliable workaround.
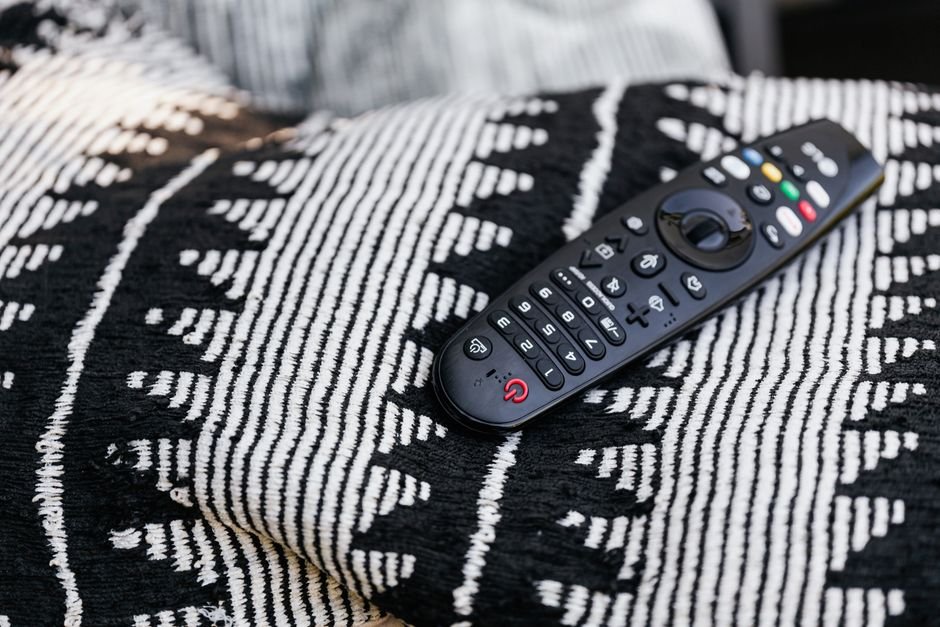
Most modern Smart TVs sold in the UK by Samsung, LG, Sony, and Panasonic include built-in PVR (Personal Video Recorder) features. Yet manufacturers rarely explain how to activate them in the box. This step-by-step guide walks you through plugging in the right storage drive, formatting it properly, and scheduling recordings directly from your Electronic Programme Guide (EPG).
Step 1: Verify Your Smart TV Supports USB Recording
Not every Smart TV can store broadcast signals. Budget televisions often skip this feature to save on licencing costs and hardware production.
To check if your set supports PVR functions, look at the back panel ports. Search for a USB socket labelled specifically as USB (HDD), USB (PVR), or 5V 1A. Standard USB ports marked 5V 0.5A usually lack the electric current needed to power external mechanical hard drives, though they may run basic thumb drives.
Next, grab your remote control and check for playback buttons. A dedicated record button (a red dot), alongside pause and play keys, signals that built-in recording features exist. If your TV relies exclusively on internet streaming and lacks an RF aerial input—much like the design evaluated in our comparison of plug-and-play streaming puck vs Smart TV apps—you cannot use traditional USB PVR features. USB recording requires an active digital signal from a coaxial TV aerial connected directly to the television’s internal Freeview tuner.
Step 2: Choose and Format the Correct USB Drive
Plugging in an old USB stick you found in a desk drawer usually leads to dropped frames, failed recordings, or error messages. Video streams from HD terrestrial channels require fast, sustained write speeds.
Follow these hardware specifications before buying storage:
- Drive Type: An external Hard Disk Drive (HDD) or Solid State Drive (SSD) works best. If you prefer a compact USB flash drive, choose a USB 3.0 or USB 3.1 drive with minimum write speeds of 30 MB/s.
- Storage Capacity: One hour of standard definition (SD) Freeview takes roughly 1.5 GB. One hour of HD content consumes between 3 GB and 5 GB. Choose a drive with at least 64 GB for light use, or 500 GB to 1 TB if you want to record live TV on Smart TV setups regularly.
- Power Requirements: Desktop hard drives that plug into a wall socket are fine. Portable 2.5-inch drives must plug into the designated high-power USB port on your TV.
Once connected, format the drive using your TV’s system settings menu. Navigate to Settings > General > Device Management (or Storage Settings depending on your brand). Select the attached USB device and choose Format. Be aware that this process erases every file on the drive. Smart TVs format external drives using proprietary file systems like EXT4 or encrypted FAT variants to prevent piracy. That means you cannot take the USB drive out of your TV and play recorded files on a Windows PC or Mac later.
Step 3: Connect and Register Storage to Record Live TV on Smart TV Sets
After physical connection and formatting, your Smart TV must pair with the drive. This process binds the storage encryption key directly to your TV motherboard.
Insert the drive into the USB port while the TV is switched on. A popup menu usually appears asking if you want to set up the device for recording or live pause. If no prompt appears, open your main TV menu and locate the storage manager.
On LG TVs running webOS, open the Time Machine or Live Playback app. On Samsung models running Tizen, press the Home button, select Source, highlight the USB drive, and choose Set for Device Recording. Sony Google TVs generally list this under Settings > Channels & Inputs > Recording Device Setup.
The television will perform a quick performance test. It checks read and write speeds. If the drive passes, the system flags it as primary storage for broadcast recording.
Step 4: Set Up Live Pause and Schedule EPG Recordings
With the drive paired, you gain access to two distinct features: instant live pause and scheduled background recording.
Enabling Live Pause (Time-Shifting)
Live pause automatically buffers the channel you are currently watching straight to the USB drive. When a phone call interrupts a match, hit the Pause button on your remote. The image freezes, but the tuner keeps writing incoming broadcast audio and video to the connected drive.
Hit Play to resume from the exact frame you left. You can fast-forward through commercial breaks up to the live broadcast point. Note that changing the channel flushes this temporary buffer, so any paused content from the previous channel disappears.
Scheduling Future Shows via the EPG
To record live TV on Smart TV hardware without staying in the room, use the built-in guide:
- Press the Guide or EPG button on your remote control.
- Scroll through the grid to find the show or match you want to save.
- Highlight the programme and press the select button.
- Select Schedule Recording or Record Series from the options menu.
- A small clock icon or red badge will appear next to the listing in the guide grid.
Your TV will wake up its internal tuner from standby mode when the programme starts, write the data silently to the drive, and return to standby when the broadcast finishes.
Step 5: Overcome Common Single-Tuner Restrictions and Errors
Setting up USB recording is straightforward, but users often encounter unexpected limitations during daily operation. Knowing these quirks saves troubleshooting time.
The Single Tuner Problem
Most mid-range Smart TVs only feature one built-in DVB-T2 Freeview tuner. That means the TV can only process one digital frequency at a time. If you record a live match on BBC One, you cannot switch over to watch ITV1 live at the same time. The TV will display a warning asking if you want to cancel the recording before changing channels.
High-end televisions overcome this by including twin tuners. If simultaneous recording and channel switching matter to you, check if your TV specifications list dual DVB-T2 tuners before buying.
Digital Rights Management (DRM) and Content Encryption
UK broadcasters enforce strict copyright protection on terrestrial signals. Recordings are encrypted directly to your television set. If your TV breaks down or you upgrade to a newer model, you cannot plug the old drive into the new TV and watch your recorded library. The original encryption handshake is permanently tied to the original hardware.
Power Supplies and External Drive Sleep Modes
Some external hard drives enter an aggressive sleep mode to save energy when idle. If your TV tries to trigger a scheduled recording while the drive is asleep, the recording may fail or drop the first few minutes while the drive spins up. Turn off deep sleep settings on your drive using manufacturer software on a PC before dedicating it to your TV setup.
Similarly, avoid removing the USB cable while the TV indicator light flashes. Unplugging active storage damages file allocation tables and risks corrupting your entire recording library.
Keep Your Broadcast Setup Running Smoothly
Using a USB hard drive turns your Smart TV into a flexible recorder without recurring subscription fees or extra boxes cluttering your media unit. Keep roughly 20% of your USB storage free at all times so the TV has space to write temporary live pause files, and perform a fresh drive reformat once a year to clear residual system fragmentation.
For more information, IPTV UK.
Related reading
- 5 Crucial Facts About Freely TV UK Before Switching Off Your Aerial
- 6 Things to Know Before Buying a Sky Glass TV