
- Step 1: Pick the Right Ethernet Cable for Your UK Home
- Step 2: Choose How to Route the Cable
- Option A: Direct Connection
- Option B: Powerline Adapters
- Step 3: Connect the Cable to Your Smart TV
- Step 4: Update Your Smart TV Network Settings
- Samsung Smart TVs (Tizen OS)
- LG Smart TVs (webOS)
- Sony & Philips TVs (Android TV / Google TV)
- Hisense TVs (VIDAA OS)
- Step 5: Test Your New Connection Speed
- Quick Troubleshooting Tips
Wi-Fi works fine for scrolling social media on a phone. But when you sit down to stream live football in Ultra HD on Saturday afternoon, wireless signals often drop the ball. Thick brick walls, wireless interference from neighbouring flats, and busy household networks cause endless buffering wheels. A wired connection fixes this instantly. Getting your Smart TV streaming without stuttering comes down to ditching Wi-Fi in favour of a reliable physical network cable.
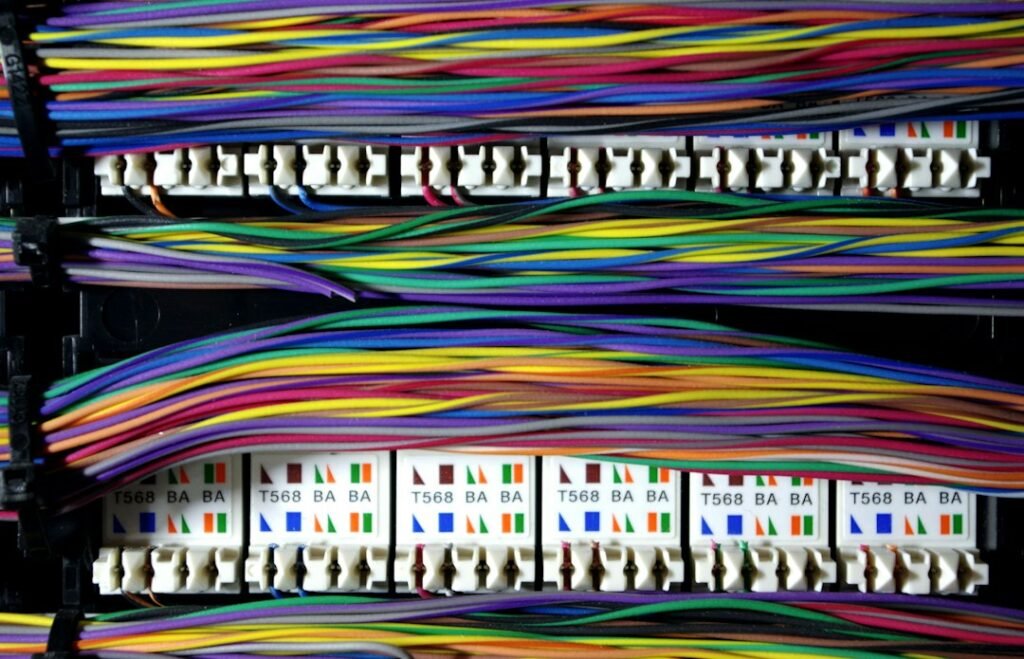
This simple guide takes you through a full smart tv ethernet setup from start to finish. You will learn which cables to buy, how to connect everything neatly, and which TV settings to change so your television actually uses the wire instead of leaning on wireless signals.
Step 1: Pick the Right Ethernet Cable for Your UK Home
Not all network cables perform the same. You do not need to spend extra money on fancy gold-plated leads, but picking the correct cable rating matters.
- Cat5e: Handles speeds up to 1,000 Mbps (1 Gbps). It works fine for standard HD and basic 4K streams over short distances.
- Cat6: Supports higher bandwidth with better shielding against electrical interference. This is the ideal option for most modern UK homes.
- Cat6a or Cat7: Thick and stiff. They offer overkill performance for a television and are often harder to hide along baseboards.
Grab a Cat6 patch cable long enough to reach your destination. If your broadband router sits right next to the television cabinet, a short one-metre cable is plenty. If the router sits in the hallway or another room entirely, measure the boundary along your skirting boards before buying. Always add an extra metre of slack so you do not strain the TV port when pulling the screen forward to clean.
Step 2: Choose How to Route the Cable
Getting a cable from your broadband hub to the back of the set depends entirely on your room layout.
Option A: Direct Connection
If your Virgin Media Hub, BT Smart Hub, or Sky Broadband router shares the same room as your television, plug one end directly into any vacant LAN port on the router. Run the wire neatly along the skirting board using small self-adhesive cable clips. Avoid running cables under heavy rugs where people walk. Pinched wires degrade performance over time.
Option B: Powerline Adapters
Moving your router to the living room is not always practical. If your hub stays fixed in the hallway, use a set of Powerline adapters. These handy plugs send network data through the electrical wiring in your walls.
Plug one Powerline unit into a wall socket near your router and run a short cable between them. Plug the second unit into a wall socket right behind your television. Run another short cable from that second adapter directly into your TV. Avoid plugging Powerline adapters into extension leads or surge protectors. Plug them directly into double wall sockets for the best speed.
Step 3: Connect the Cable to Your Smart TV
Locate the network port on the back or side of your telly. Look for a socket marked LAN or Ethernet. It resembles a slightly larger version of an old landline telephone jack.
Push the plastic RJ45 connector firmly into the port until you hear a clear click. That clip locks the lead in place. Plug the opposite end into your router or Powerline plug. Most router LAN ports light up with a small green or amber indicator light once they detect an active connection.
Step 4: Update Your Smart TV Network Settings
Plugging in the cable is only half the battle. Many smart televisions continue using Wi-Fi until you explicitly tell them to switch over. Here is how to complete your smart tv ethernet setup across the most popular television brands in the UK.
Samsung Smart TVs (Tizen OS)
Grab your Samsung remote and press the Home button. Head over to Settings, select General, and click on Network. Choose Open Network Settings and pick Wired. The TV will test the connection instantly. Once it confirms a successful connection, return to the main menu and turn off Wi-Fi in the network menu to prevent auto-switching later.
LG Smart TVs (webOS)
Press the Gear icon on your LG Magic Remote to bring up the side menu. Select All Settings, go to Connection, and open Network Connection Settings. Click on Wired Connection (Ethernet). The screen will display a green checkmark once connected. If your Wi-Fi remains turned on, toggle the Wi-Fi switch off in this same menu.
Sony & Philips TVs (Android TV / Google TV)
Click the gear icon in the top right corner of your home screen. Navigate to Network & Internet. You will see Ethernet listed near the top. Make sure it shows as connected. Scroll down to the Wi-Fi toggle and switch it off completely. This stops your TV from hopping back to wireless if your broadband drops for a split second.
Hisense TVs (VIDAA OS)
Open Settings using your remote control, then select Network. Choose Network Configuration and set the connection type to Wired. The TV automatically obtains an IP address from your router within a few seconds.
Step 5: Test Your New Connection Speed
Once connected, verify that your TV gets enough bandwidth for smooth playback. Open the built-in web browser or download a simple speed test app from your TV’s app store. Alternatively, open the Netflix app, navigate to Get Help in the side menu, and run a network check.
Do not panic if your speed test caps out around 90 to 95 Mbps. Most major TV manufacturers install 100 Mbps Ethernet ports on their televisions rather than Gigabit ports. A solid 90 Mbps wired connection is incredibly stable and easily handles 4K HDR streams on apps like BBC iPlayer, ITVX, and Prime Video, which generally only require 25 to 35 Mbps.
Quick Troubleshooting Tips
If your TV fails to get online after plugging in the cable, try these practical fixes:
- Restart the router and TV: Turn both devices off at the wall plug, wait 30 seconds, and turn them back on. This clears out old IP address conflicts.
- Check IP settings: Ensure your television network mode is set to Auto IP / DHCP rather than Manual.
- Swap the cable: Test the Ethernet lead on a laptop to ensure the inner copper wires are not damaged.
- Disable MAC filtering: If you modified advanced security settings on your broadband router, check that new wired devices are allowed to connect.
Setting up a hardwired network takes less than fifteen minutes and completely eliminates wireless buffering issues. You will enjoy crisp 4K pictures and steady streams for every match, film, and show.
For more information, IPTV UK.
Related reading
- How to Fix BBC iPlayer Crashing on Smart TV: UK Troubleshooting Guide
- How to Optimise Router Settings for Smart TV Streaming in the UK